Filed under: Uncategorized
What is a mandala?
A mandala is a geometric pattern or chart, typically circular or square, that symbolically represents the cosmos and is used for meditation purposes. The mandala originated in the Hindu religion, in which it was first used as a design element in temples, and was borrowed into Buddhism. Other religions and cultures have analogous meditation aids, and in an expanded sense, a mandala may even be a round, symmetrical building used for worship.
Creating a mandala can be a form of meditation, as well as contemplating a finished mandala. In Tibetan Buddhism, there are strict guidelines concerning the content and design of a mandala, including the visualization of the piece and mantras to be recited as it is made. Different types of mandalas are used to represent different elements of Buddhist beliefs and cosmology, but they are generally full of symbolism and richly detailed.
Tibetan Buddhists also make sand mandalas, using delicate tools and colored sand to create intricate designs. After they are made and contemplated according to ceremony, sand mandalas are destroyed, symbolizing the impermanence of everything. Every element of the sand mandala, from marking out the pattern, to pouring the sand, to disposing of the used sand, is ritualized. Mandalas also appear in Japanese Buddhist temples and rituals, although the sand mandala is unique to Tibetan Vajrayana or Tantric Buddhism. Meditation or prayer aids in other religious traditions, such as the rosary of Catholicism, are considered by some to be a type of mandala. (from WiseGEEK.com)
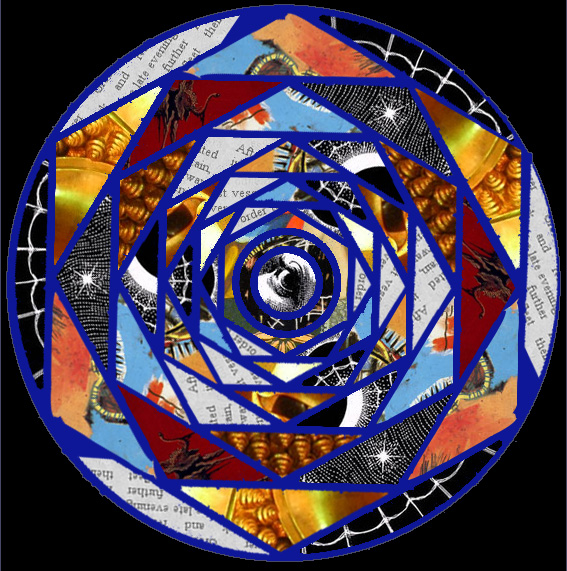
We are going to make our own mandalas using photos.
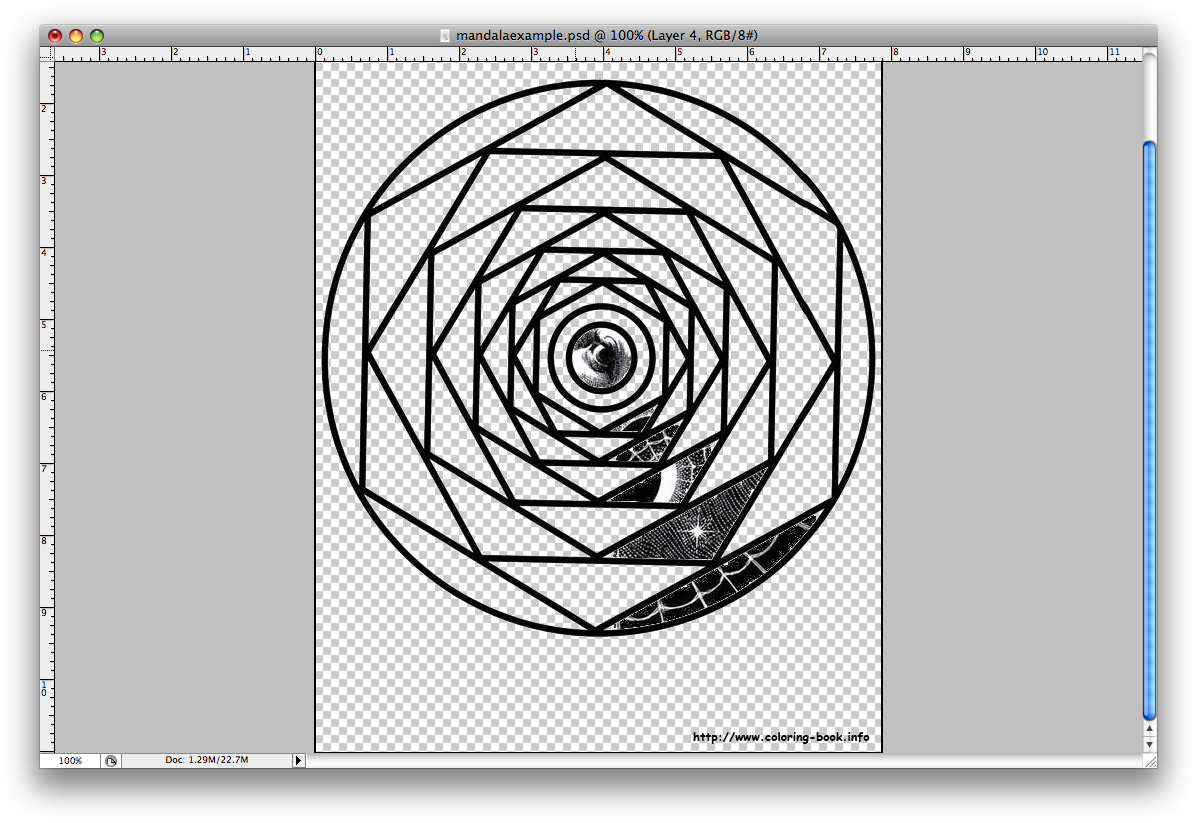
1. Choose a mandala template.
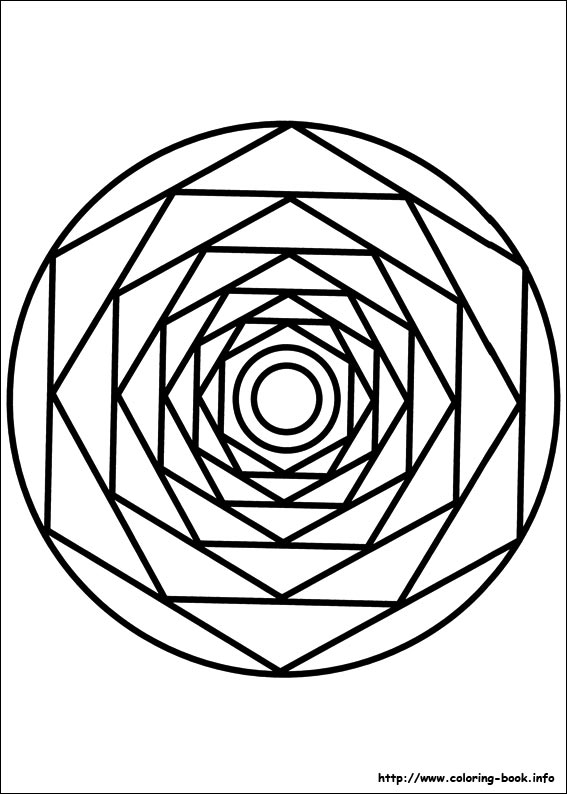
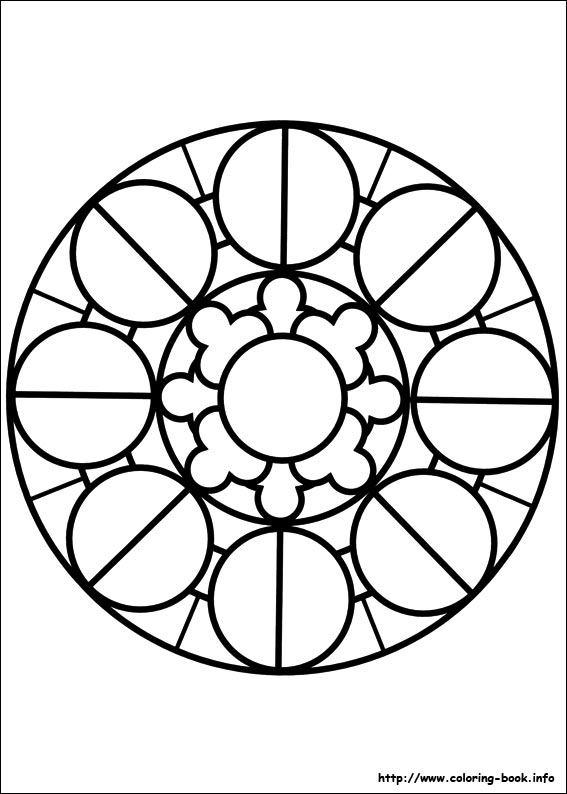


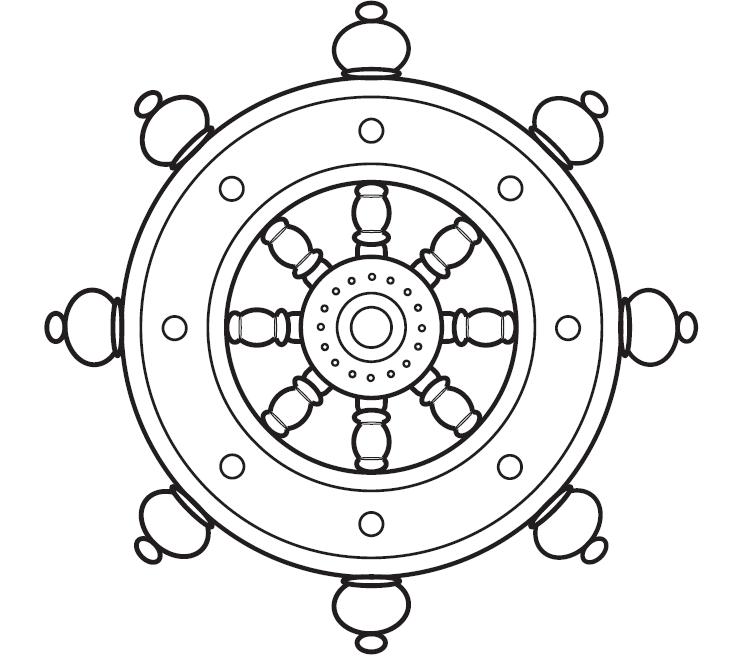

2. Open the template in Photoshop and delete the white so that it’s transparent other than the black lines.
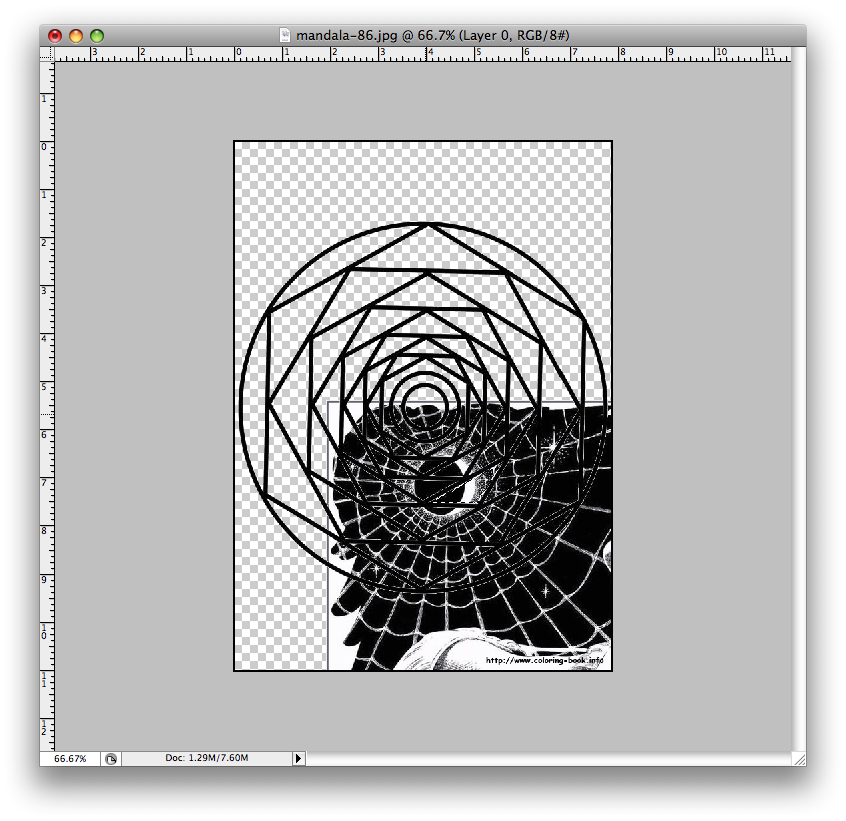
3. Add your first photo as another layer and put it behind the mandala template. Choose your photos based on texture and color.
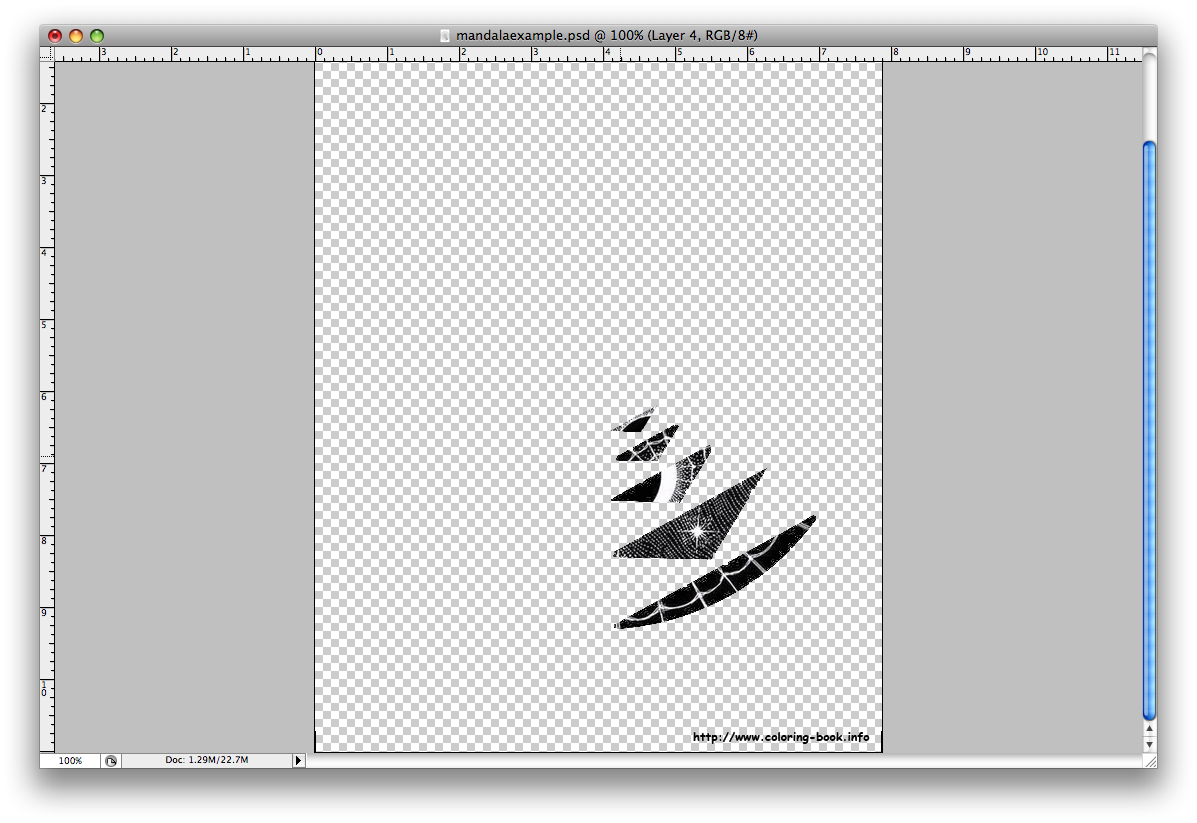
4. Pick one shape within the mandala template to focus on. Move the photo layer until you like the section which is behind your mandala shape. You can rotate it or adjust the scale if you’d like.

5. On the mandala template layer, use the magic wand tool to select inside the shape. Click Inverse Selection. Go to the photo layer and press delete. You should now have just a portion of the photo inside the mandala shape, like the photo below.

6. Continue this process until you have a vertical row filled.
7. Unclick the eyeballs on all of the layers except the new shape layers you have made. Click Layers->Merge Visible. Now all of your shapes are on one layer.
8. Duplicate this layer and rotate it to fit other sections in a pattern.

9. Continue with this process until the whole mandala is filled! My only rule is that shapes from the same photo should not touch. If you want, at the end, get rid of the mandala template layer and add a new background color. Have fun, be creative and make something that looks cool!
10. When you are done, post it to your blog under Project 9:Mandala, and write about how the project went, if you learned anything,etc.
No Comments so far
Leave a comment
Leave a comment
Line and paragraph breaks automatic, e-mail address never displayed, HTML allowed:
<a href="" title=""> <abbr title=""> <acronym title=""> <b> <blockquote cite=""> <cite> <code> <del datetime=""> <em> <i> <q cite=""> <s> <strike> <strong>