Project Two: Hybrid Animal AD


There are many hybrid animals in mythology, that is creatures that are a combination of two or more animals. One common hybrid is a mermaid (part woman, part fish). What hybrids can you think of? Here is a list from Wikipidia.
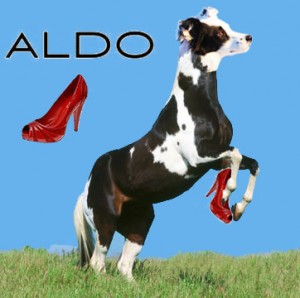
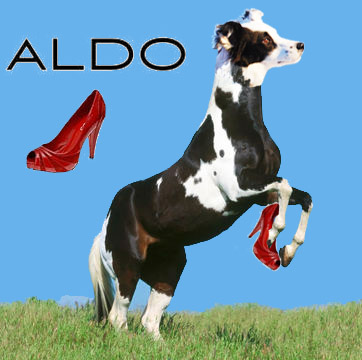
I want you to create your own hybrid using Photoshop, and have that hybrid advertize some product. You need to have the hybrid animal, the product, and the brand name in your AD. In my example, I made a Dog/Horse which is advertising Aldo shoes. You may choose which animals to combine, and which product to endorse. You will isolate different parts with the magnetic lasso tools. Make your two creatures join as seamlessly as possible by adjusting the different parts to the right size, angle, color. The clone tool can be useful as well for making fur/scales to cover where two parts are joining! I reccommend adjusting the opacity of the clone brush as you are blending the two animals. Try to make it look as real and professional as possible, with patience, you can do it! Good luck and have fun.
Assignment Seven: Clone Stamp Tool
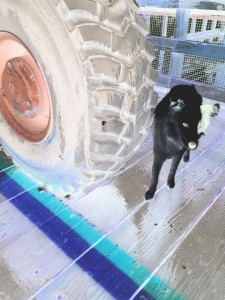
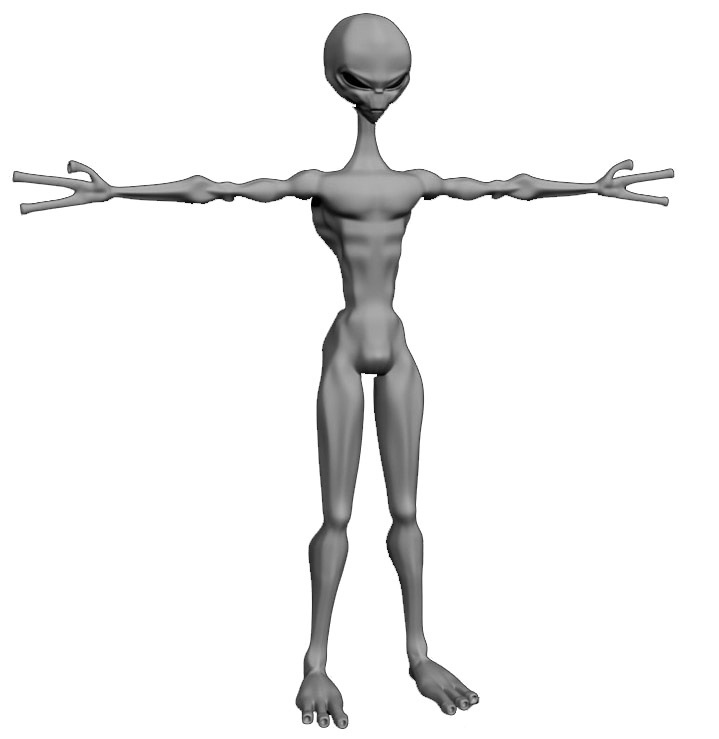
Save this alien picture:
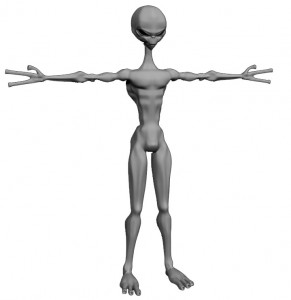
Open it in photoshop and use the magic wand tool to delete the background.
Choose the Clone Stamp Tool 
Hold down Alt to choose the area to clone, click.
In a new layer, clone that area! After, you can change the size or angle of the cloned part under Edit –> Transform.
I want for you to practice with the clone tool by giving the alien 6 arms and 4 legs total. Use the Scale, Rotate, Skew, Distort, Perspective, and Warp Transformations at least once. Make each limb in a new layer so that you can edit them individually! Remember to put new limb layers behind the original alien.
Add a new background for your alien.
Flatten the image under Layer–> Flatten Image. Save it as a jpeg and post it to your blog under the title Assignment Seven.
Write about your experience with the Clone Stamp Tool. What does it do? What could you use it for?
Project One: Pop Art
Repetition can be a good thing in art. Now that you know how to move, manipulate and add different layers, as well as make selections with different tools you are ready for your first project.
1.Decide what image you want to repeat, a person, animal, object, plant…whatever. This image should be a photograph, no cartoons or computer graphics. Save the jpeg image and open it in photoshop.
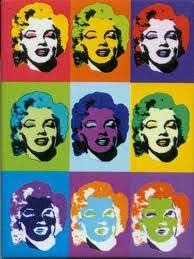
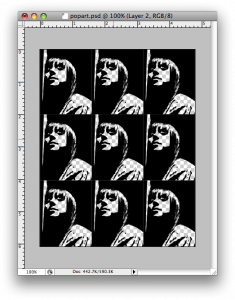
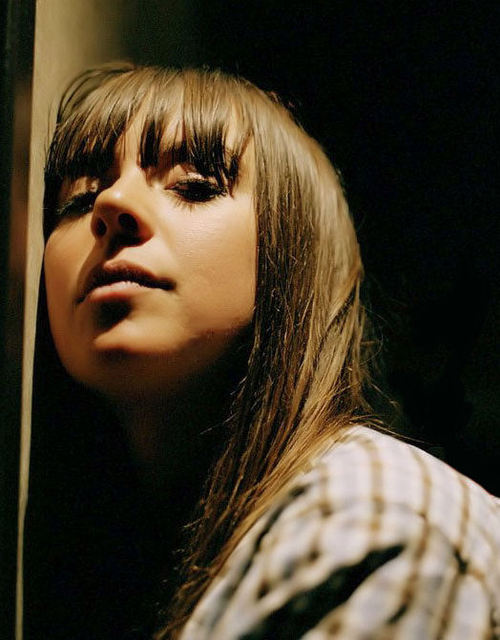
I chose Cat Power

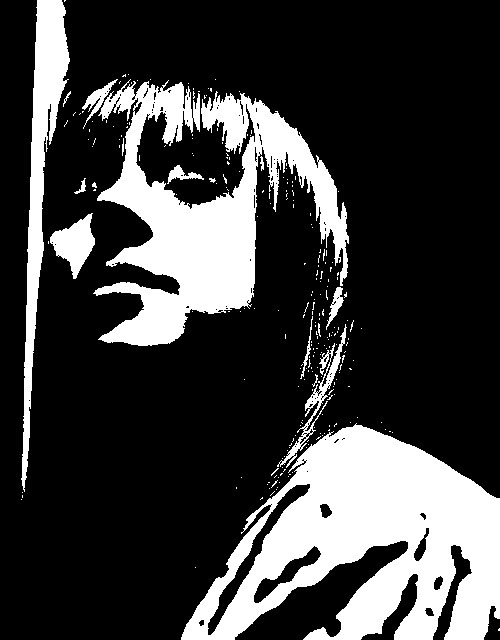
2. Adjust the threshold of your image.

3. Under Select–>Color Range, click on a white part of the image. All of the white in the image should now be selected. Delete it. You should now see a checkered pattern where there was white. This means it is transparent. Select all of the image and copy it.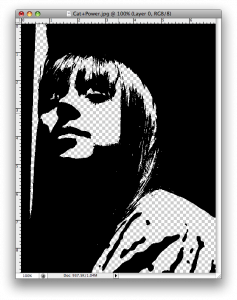
4. Open a new blank document in photoshop. You can pick the dimentions in inches. Make them add up to around 10, ie 4 x 6 inches more or less.
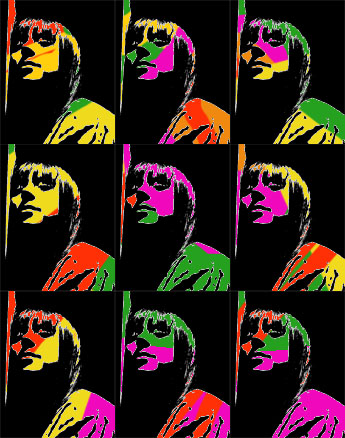
5. Paste your image into this new document. Shrink it under Edit–>Transform–>Scale. Copy it again and make at least 9 total. Arrange them in a pleasing way, doesn’t have to be a grid like mine.
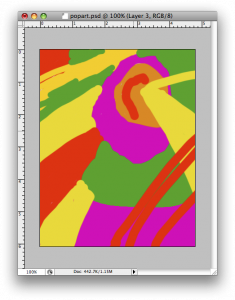
6. Add a new layer behind your pattern. Using the paintbrush tool, paint some design with bright colors (at least 4). Here is mine.
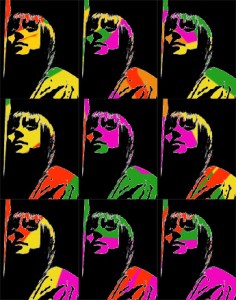
Here they are together. Pop Art!
7. Flatten your image, save it as a JPEG and post it onto your blog under Project One: Pop art. Write about your first experience actually making art with photoshop. What was easy/difficult/annoying/awesome? Do you like your product?
Assignment Six: The Magic Wand and Paint Bucket tools

Save and then Open this snowman in Photoshop.
1. Double click the layer which says Background and rename it Snowman. Click the Magic Wand tool on the background of the snowman. Erase it. Find a new photo to put in the background. Copy and Paste it into the Snowman document. Make sure it in the back layer!
 2. Using the Paint Bucket Tool color the Snowman’s hat and scarf to match his new background. Use at least three different colors.
Flatten the image under Layer–> Flatten Image. Save it as a jpeg and post it to your blog under the title Assignment Six.
Write about your experience with the Magic Wand and Tools. What do they do? What could you use them for?
Assignment Five: Lasso Tools
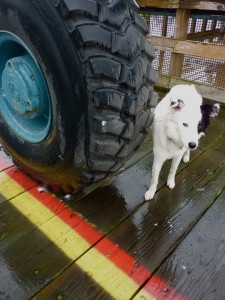
 1. Download this picture. Select the stork using the Regular Lasso tool. Hit the Delete key to erase the stork. Flatten the image under Layer–> Flatten Image. Save the image as a jpeg.
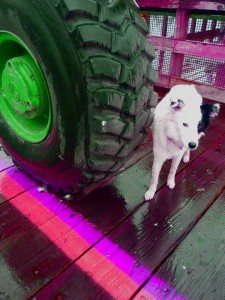
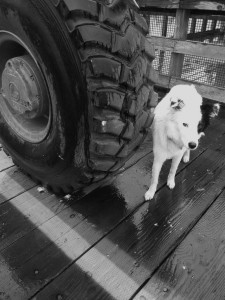
 2. Download this picture. Use the Polygon Lasso tool to select the house. Go to Selection>Inverse Selection to select everything but the house. Apply a Filter. Flatten the image under Layer–> Flatten Image. Save the image as a jpeg.
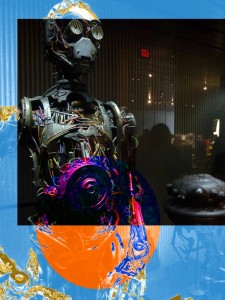
 3. Open a photo of your choice. Use the Magnetic Lasso tool to select part of it, then change it with an Adjustment or a Filter. Flatten the image under Layer–> Flatten Image. Save the image as a jpeg.

Post all three photos under Assignment Five. Write about your experience using the Lasso Tools. Were they easy to use or difficult? Which seemed to have the most capabilities?
Assignment Four: Rectangular and Elliptical Marquee Tools


Open a jpeg picture of your choice in Photoshop.
- Make a Rectangular Marquee selection. Click Select –> Inverse. Change this selection under Image –> Adjust.
- Make an Elliptical Marquee selection, Change this selection under Image –> Adjust.
Flatten the image under Layer–> Flatten Image. Save the image as a jpeg and post it to your blog under the title Assignment Four.
Write about your experience with the Rectangular and Elliptical Marquee Tools. What possibility do you see with these tools?
Assignment Three: Maneuvering different Layers
1. Download the file Layer_Practice.psd. Open Layer_Practice.psd. in Photoshop. Change the order of the layers on the document so you can see all the features of the South Park character. Find a jpeg photo from the internet to use as a background for her. Copy and paste it into the Photoshop document. If it isn’t the right size, adjust it under Edit –>Transform–>Scale. Make sure the background is the bottom layer. Flatten the image under Layer–> Flatten Image. Save the image as a jpeg and post it to your blog under the title Assignment Three.
2. Write about your experience maneuvering Layers in Photoshop.
Assignment 2: Using the Move Tool

1. Download the file move_practice.psd. Open the file in Photoshop. Use the Move tool to assemble these pieces into the South Park character. Once you have assembled the character, flatten the image under Layer–> Flatten Image. Save the image as a jpeg and post it to your blog under the title Assignment Two.
2. Write about your experience using the Move Tool in Photoshop.
Assignment 1: Adjusting Your Photo
For the first assignment, you will adjust a photo in six ways.
You will begin by choosing a jpeg image and saving it to My Pictures.
You will then open it in Photoshop under File –> Open.
Under Image –> Adjust adjust the following (in Photoshop Elements it’s under Enhance–>Adjust Lighting, Enhance –>Adjust Color and Filter–>Adjustments):
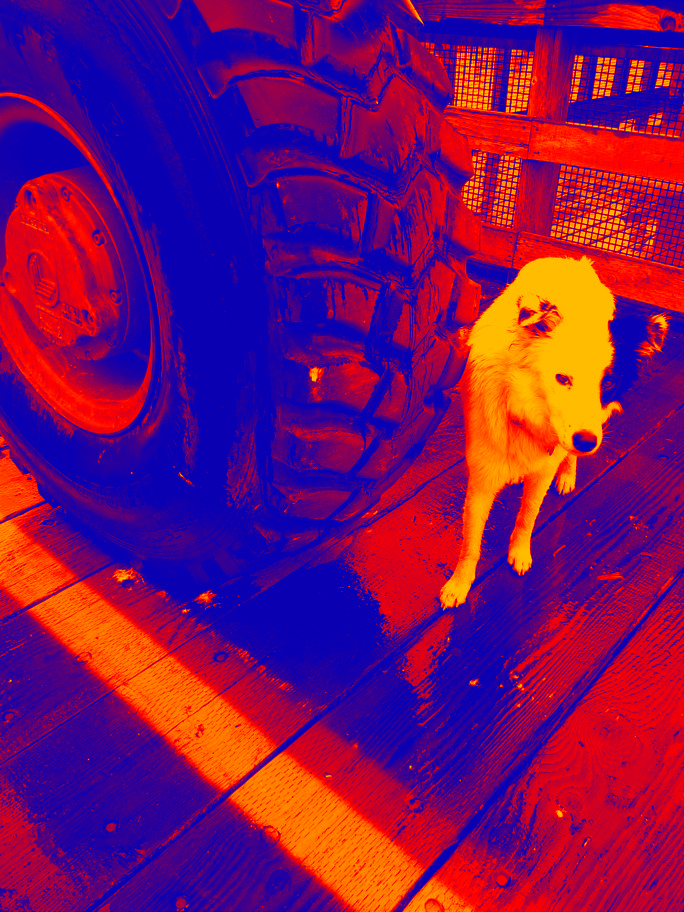
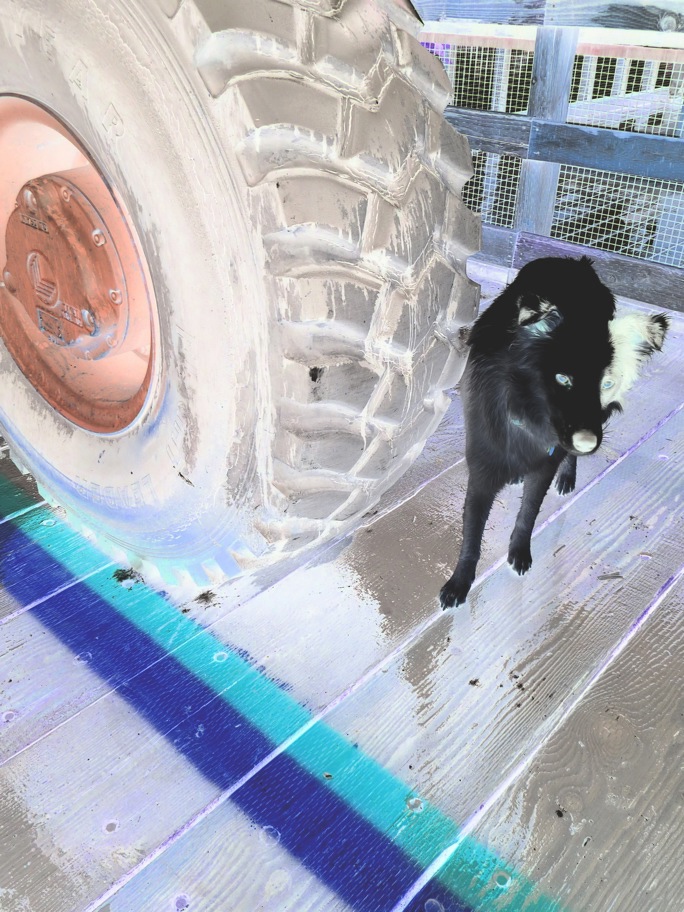
Brightness/Contrast:

Hue/Saturation:
Desaturate:
Gradient Map:

Invert:
Threshold:
Save each version of your photo separately under a folder entitled Assignment 1.
Create a post on your blog to showcase and label your original photo, as well as each adjusted version. Title it Assignment One: Adjusting Your Photo. Include an introduction where you describe your first experience with Photoshop. What did you do? Was it easy or difficult? Which adjustment did you like the best? Remember to use correct English grammar and punctuation.


